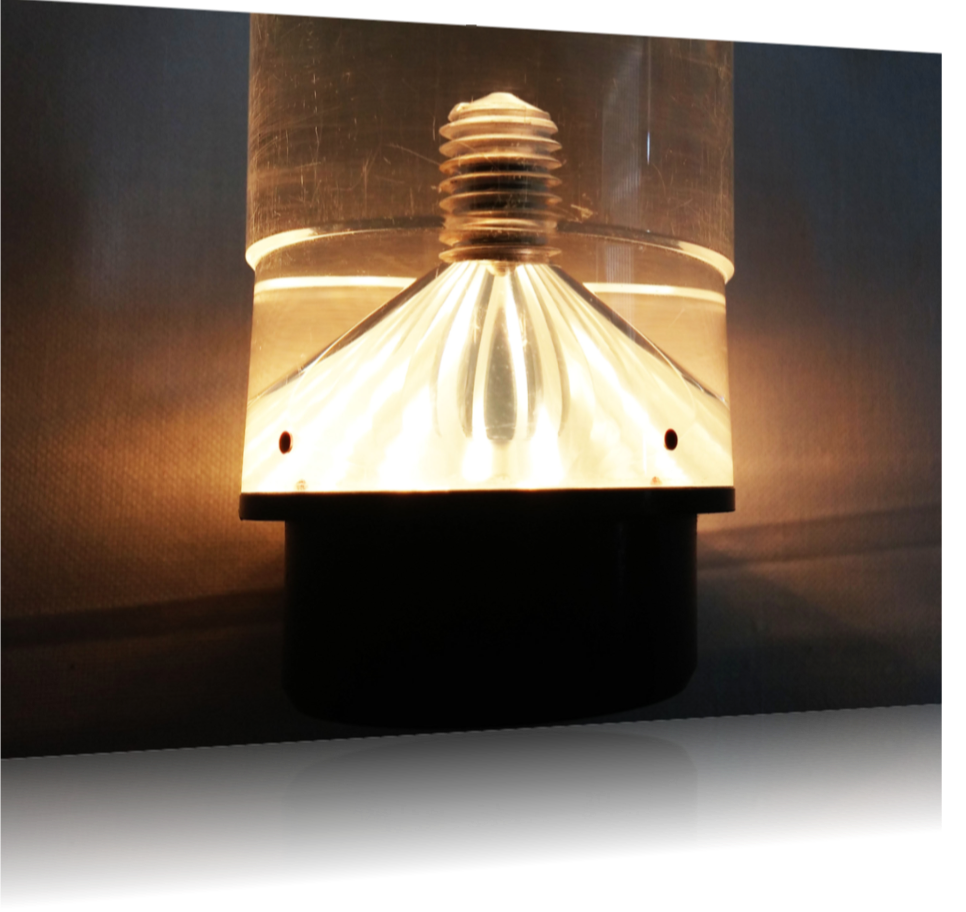
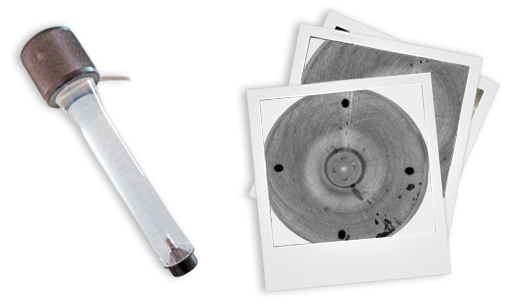
SIGHT-PIPE® Porosity Check provide ways to visually locate, inspect and gage porosity in machined bores. The optical properties of the 360 View™ Series SIGHT-PIPE® provides a complete 360 degree view of the bore at right angles to the axis of the bore.
With one pass of the 360 degree SIGHT-PIPE®, the complete sidewall can be inspected. Custom Reticle marks (Gage Dots)are added to the SIGHT-PIPE® so a comparison of defect size can be made. Other options include adjustable fiber optic illumination and a second “circular” reticle pattern to further inspect for porosity “groupings” or the number of porous characteristics within a predefined tolerance limit. These concepts are used to design and manufacture Porosity Check gages to measure specific tolerances of porosity in a wide range of applications.
How To Use Porosity Gage:
Locate Porosity of the interior side wall by sliding the SIGHT-PIPE into piece part and viewing image through the top of the SIGHT-PIPE.
How To ID Porosity
Once the Porosity is located, rotate the SIGHT-PIPE left or right to position the gage dot (also know as a recital) so that it is superimposed over the porosity to be inspected.
Acceptable / Unacceptable
If the gage dot covers the porous spot, the porosity is within the acceptable limits, if the porous area is larger than the one of the gage dots, it si out of the acceptable limits.

